I access a lot of WordPress sites every week and I’m still blown away by the number of WordPress users who aren’t taking advantage of WordPress’ built-in Screen Options settings, which looks like this when you click into it on the Posts page:
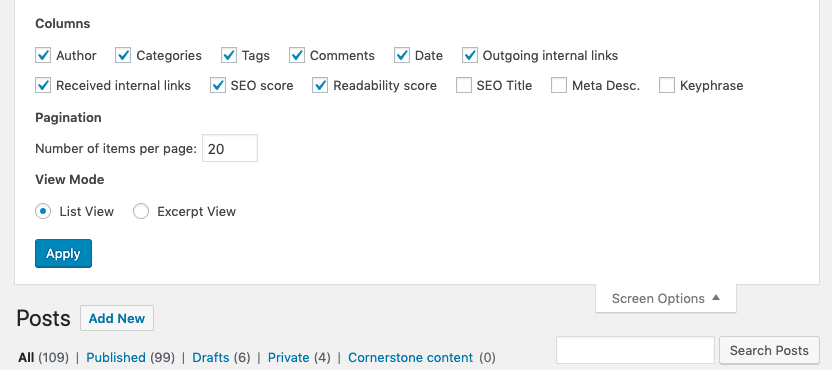
If it didn’t show up on every single page of the dashboard, I’d call it one of WordPress’ hidden gems.
The Screen Options tool is incredibly useful because it hides or shows different pieces of information in your WordPress dashboard. You can cater the look and feel of each page of the WordPress CMS to align more squarely with your job role and style of work.
By nature, I like to remove as much noise from the dashboard as possible. Typically when I’m logging into WordPress I’m there to write something new or update content on the site, so I like to get rid of anything that stands in the way.
What You Need to Know about WordPress Screen Options
One of the things I like most about Screen Options is it’s simplicity. Here are some of the key things to know:
- Screen options only apply to the current user – You don’t need to worry about messing up the dashboard for a coworker. If you change the Screen Option settings you’re only changing them for your user account. This means that every single user may have slightly different variations of the same dashboard.
- Screen options are contextual for each page of the site – Screen Options don’t appear on every page on the dashboard, and the options vary depending on the page that you’re on. In other words, changing the Screen Options on one dashboard screen won’t change similar Screen Options sitewide.
- WordPress will remember any Screen Options that you set – Because the Screen Options are associated with your specific user, WordPress will keep whatever settings you choose indefinitely until you change them again. You don’t have to update Screen Options every time you login to the website.
How to use WordPress Screen Options
For any dashboard page that has Screen Options available you’ll see a tab in the top right corner of your Screen labeled Screen Options. Clicking that tab will uncover a series of checkboxes and occasionally other settings to adjust what you see on that specific dashboard.
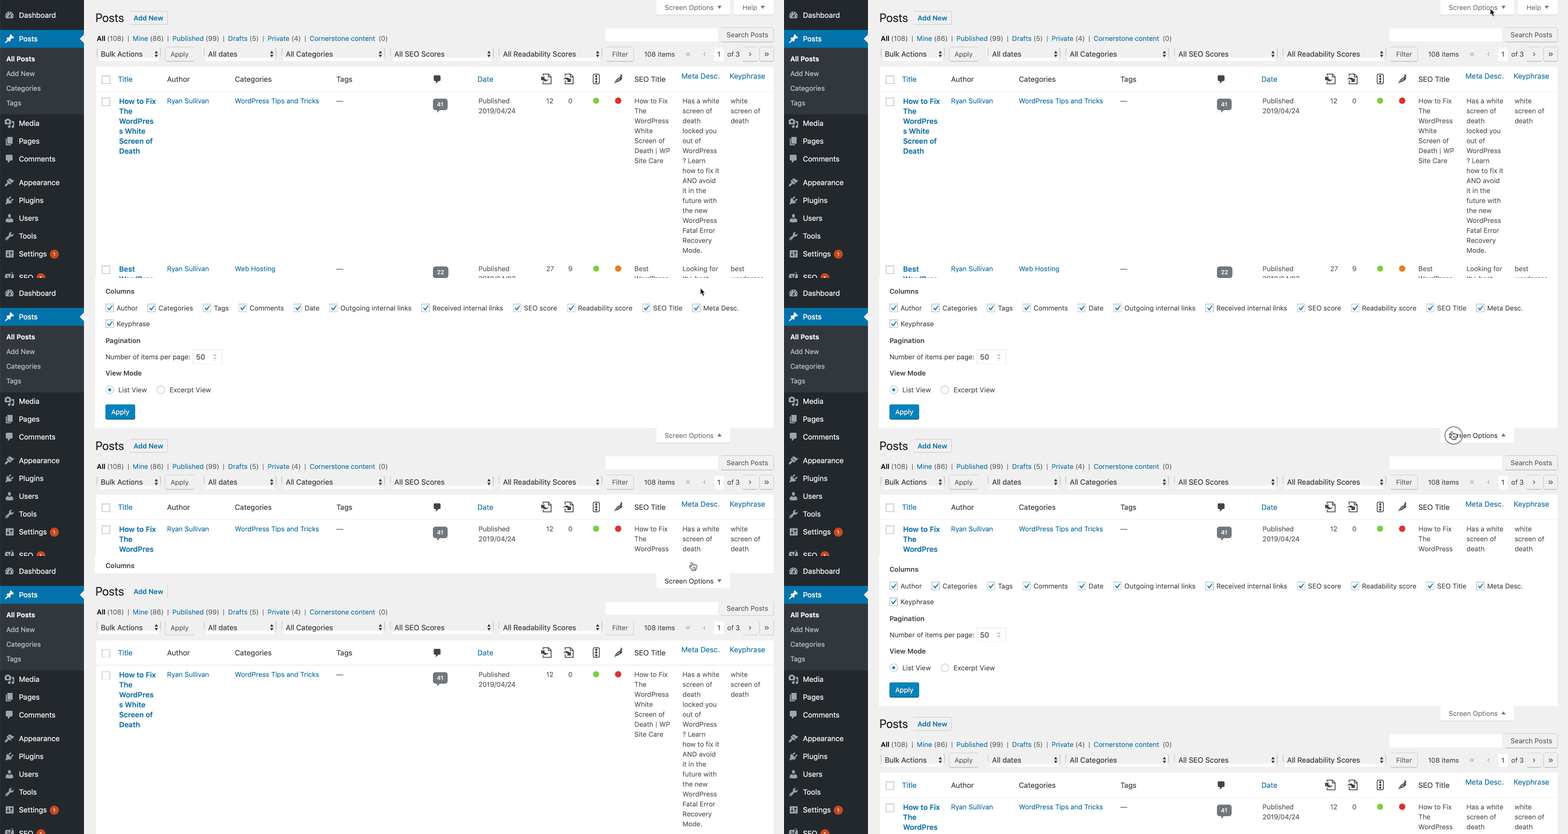
For the Posts page, each checkbox represents a column on the list of posts below. By unchecking a specific box, I hide the row that corresponds with that data. The opposite happens when checking each Screen Options box.
Here’s a screenshot of my dashboard with every single column included. You can see that even on a pretty reasonable screen size, text starts stacking up quickly. I can only see 2 blog posts at a time when I’m showing all of this data.
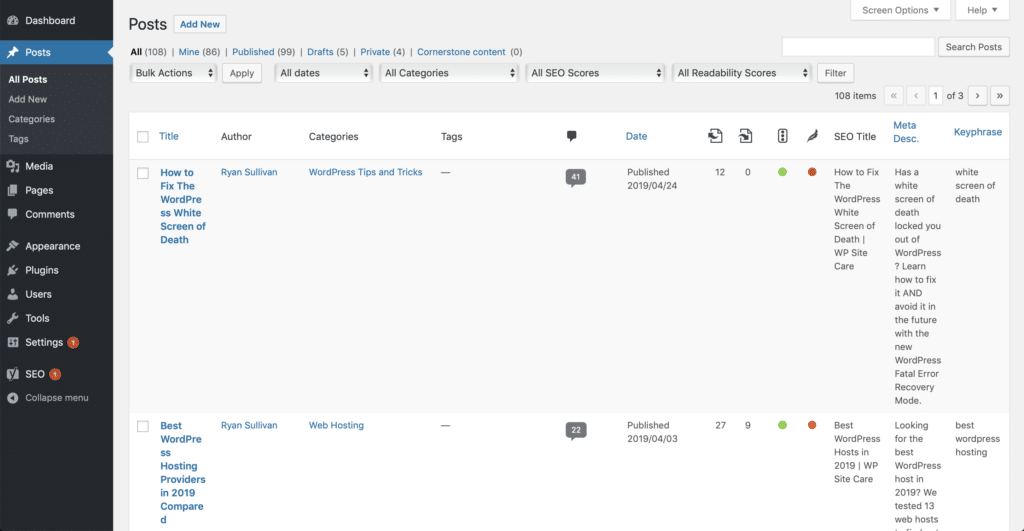
On a smaller screen size, things get absurd pretty quickly
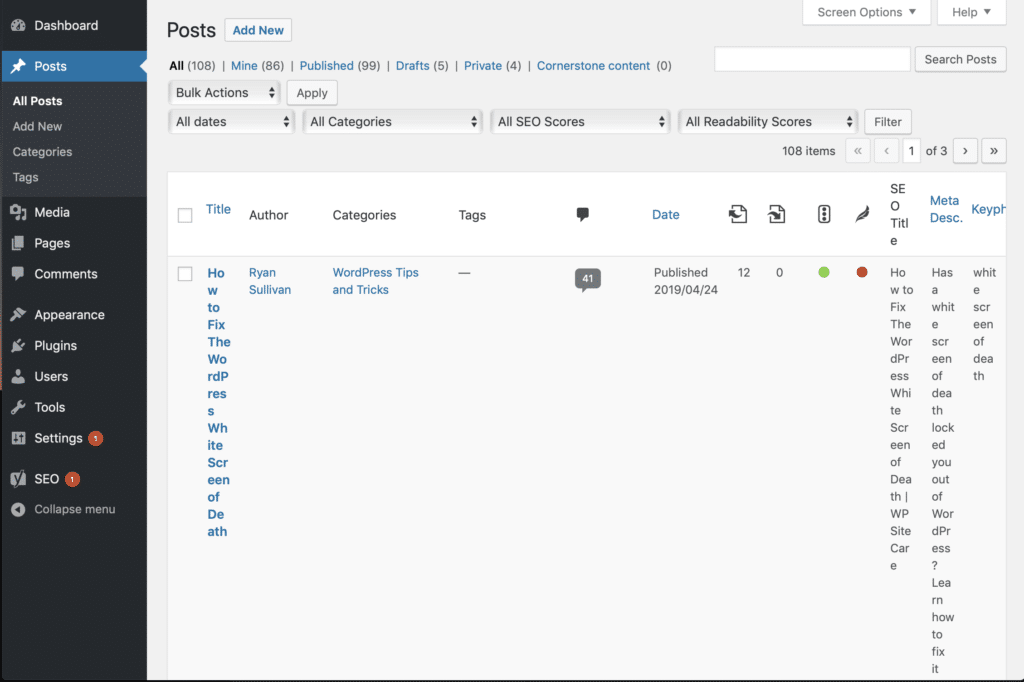
Now let’s take a look at a screenshot with all of the extra columns hidden.
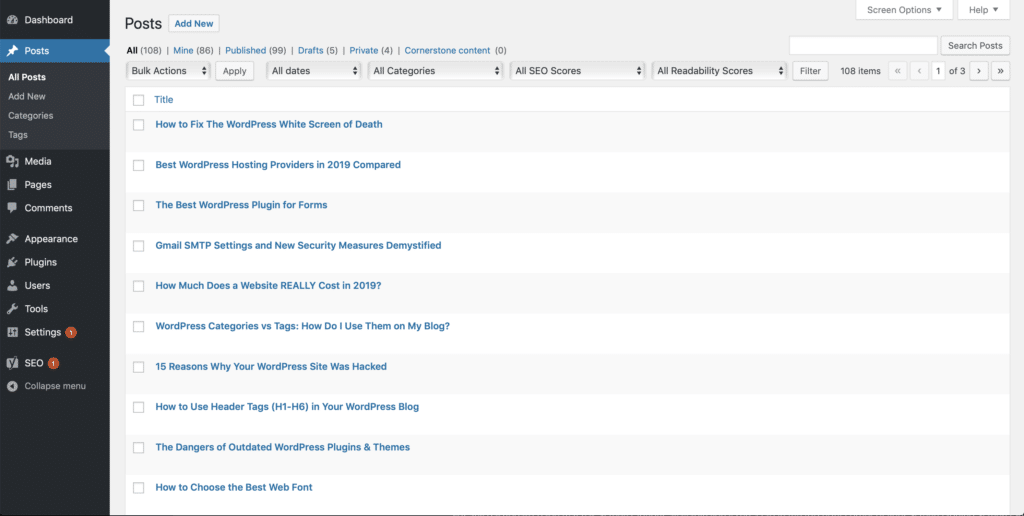
I can see 10 articles now on the same amount of screen real estate, and that stays true even on smaller screens! This is the type of dashboard I want to see to help keep my mind clear and remain focused.
I have a 27” iMac and if I’m showing all of the column data I can only see 5 articles even when the window is stretched to the max.

You get the idea.
Make WordPress Screen Options Work For You
I’d challenge you to take an extra five minutes next time you login to WordPress and adjust the Screen Options to cater to your most common activities and tasks. It’s a small change that will lighten your mental load and help you be more productive when you’re getting things done in WordPress.


